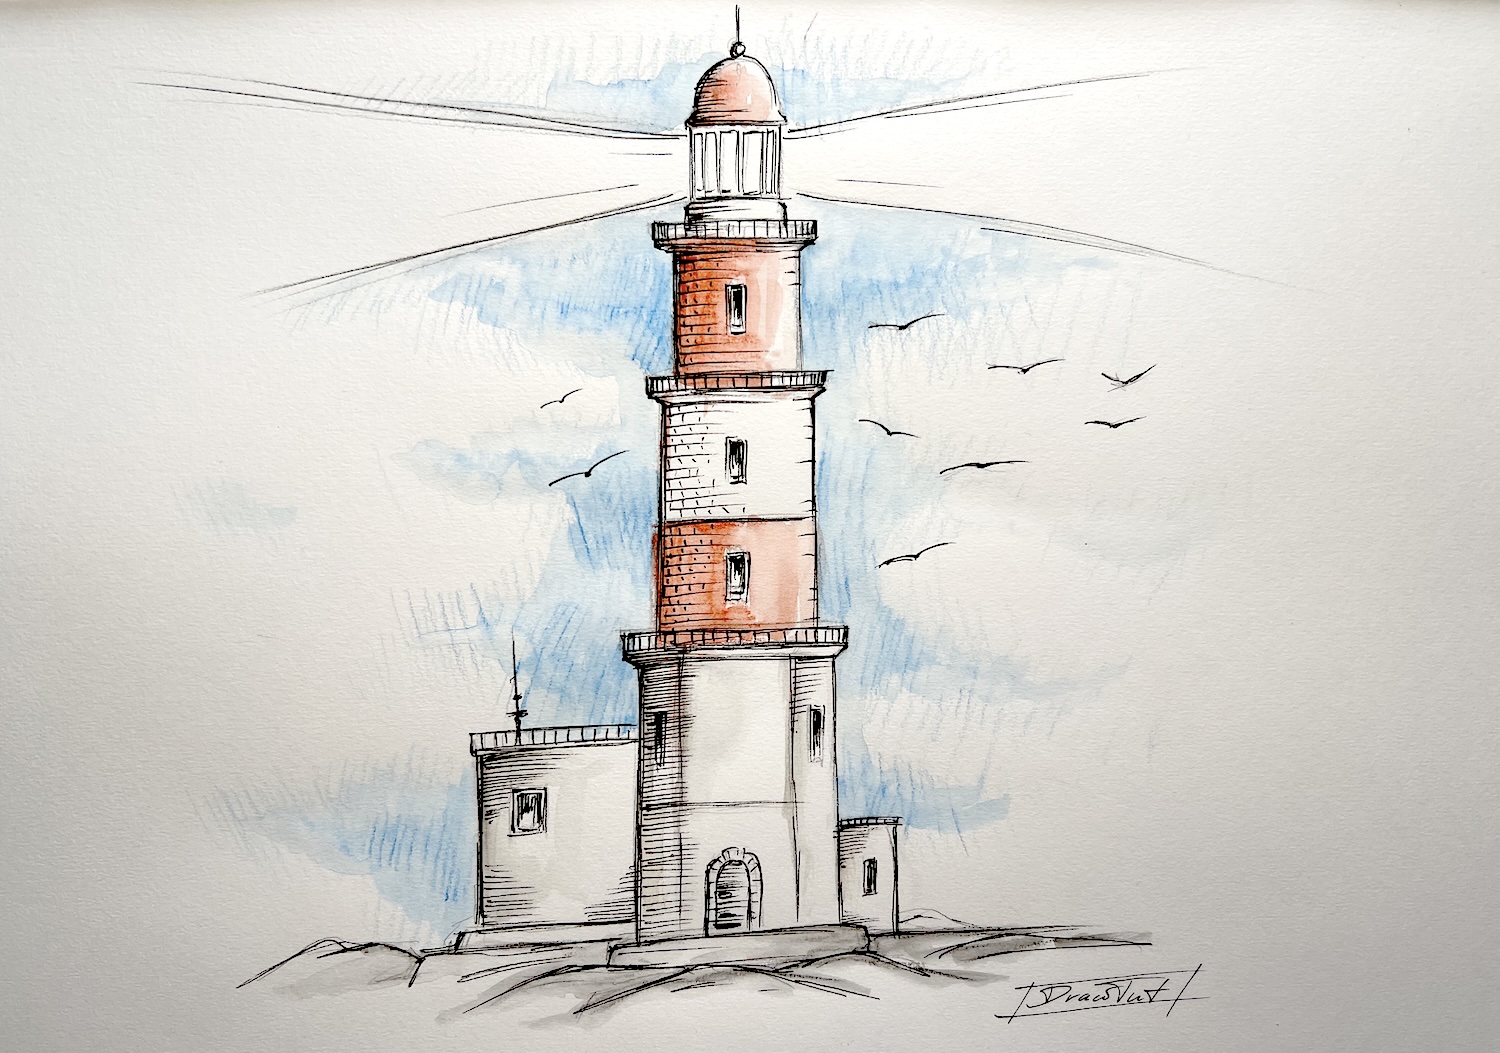
Lighthouse Painting - Complete Exercise with Video
A picture of a lighthouse is an exciting motif and can also be used perfectly for decorative purposes. In this exercise, we will paint a motif of a lighthouse together. You will be shown and explained each step in detail.
Required Drawing Tools
For this exercise, we use a mix of several drawing tools. Here is a list for you:
– Fineliner (black)
– Pencil for the sketch
– Water-soluble colored pencils
Of course, you can also use your watercolors or colored pencils for this exercise. I’ll leave that up to you and your creativity.
Lighthouse Painting Video Tutorial
In this video, I show you step by step how to draw a lighthouse using a sketch and water-soluble colored pencils. You can also use watercolors or simply your colored pencils. Whether you are just starting out with drawing or are already a little more advanced, you will be shown everything here, from the sketch to the finished drawing.
Can’t see the video? Then please accept the cookies used here first.
Lighthouse Painting Step by Step Tutorial
Create a sketch of the lighthouse
1. take a pencil and first sketch the lower part of the lighthouse.

2. then draw the upper part of the lighthouse.

3. now also draw the rays and sketch some birds. Also draw some stones at the bottom.

Coloring the lighthouse
1. now take a light blue water-soluble colored pencil and start filling in some areas with light hatching.

2. now add dark blue in some places and use it to create some dark areas.

3. fill in the areas of the lighthouse shown here in red. Draw the lines on one side only.

4. now take a brush and add some water. Spread the paint so that the areas are filled.


5. now take some black and draw some shadows in the lower part of the lighthouse.

6. and spread the paint again with water and the brush. Now paint the remaining areas.


Create fineliner drawing
1. now take a black fineliner and trace your previously created sketch.

2. also draw some bricks on the darker side. Only indicate them as shown here.

3. also create the rest of the drawing and draw in the details here too.

4. you can fill darker areas with hatching. Simple hatching is recommended here.

5. now draw the remaining areas as well. Don’t forget to also indicate the light and the birds.
Your drawing is finished! If you want to continue drawing right away, here are some drawing courses for you to continue with.
