Drawing tools and their costs
Overview of drawing tools and what they are used for

We’ve created a ebook and video course, so that you can learn how to draw right away. Get started now!
This course is about drawing tools. It will also help you choose the right tool for you. After all, you should feel comfortable drawing and enjoy it. The choice of your pen or brush is crucial and of course should not blow your budget from the start. Of course, your drawing style will also influence which tool you use in the future.
Start small and grow
As with any craft, the choice of tools is crucial for the later result. At the beginning, however, the quality of the paper or the pen used hardly matters. Don’t buy all the professional equipment right away until you decide that you actually enjoy drawing. In addition to that, you also need to develop your style first and for that you can also practice with inexpensive tools.
As with everything else, there is always the expensive, the affordable and the cheap alternative here. If you think that good pictures can only be created with expensive colors, you are on the wrong track here. Because art comes from creativity and skill. Both can be learned, but not bought.
The development of your drawing style also significantly affects the choice of tools. After you’ve developed your drawing style and know your drawing preferences, you can also move on to more professional tools. Because the drawing style or the type of images you want to create plays a crucial role in the choice of pens, brushes or paper. That’s exactly where we will guide you with as much fun as possible.
In this course, we’ll introduce you to each tool, show you what price categories exist for each drawing tool with matching Amazon links as an example. These links are provided so that you know exactly what the drawing tools look like and what alternatives are available.
Drawing tools and their functions
Due to the many manufacturers and the wildest art forms that currently exist, there are of course also the most diverse drawing tools. However, we will first look at the essential tools and divide them into individual categories. This will give you a feel for what might be right for you. So let’s build your basic drawing framework first before we start experimenting.
The standard drawing tools are:
- Pencil(in different thicknesses)
- Eraser
- Fineliner (in different thickness)
- Crayons
- Felt-tip pen(in different colors)
- Markers(in different colors)
- Charcoal, graphite or chalk
- Brushes (with different brush heads, depending on the type of paint used)
- Sketchbooks and paper
- Graphic tablet for PC
- Tablet with a drawing pen (iPad & Apple Pen)
Pencils
A pencil forms the basic drawing tool that we will also start with in the actual drawing classes. However, different types of pencils exist here as well. First, we have the standard pencil, which you can typically buy in different thicknesses to begin with.
The strength is indicated by H for hard and B for soft. The harder a pencil is (e.g., H4), the better it is for pre-sketching a picture with light, barely visible strokes. On the other hand, it can be used to add a bit more detail to light areas of a drawing. In contrast, soft pencils (e.g. B4) are used to draw the dark areas or contour strokes. This means that quite intensive strokes can be drawn with it.

Another form of a pencil is a mechanical pencil with a lead. The leads are also available in various thicknesses and strengths. The advantage of this type is that sharpening is completely unnecessary. The disadvantage is that mechanical pencil is relatively unsuitable for flat shading.
Costs of pencils at a glance
In the stores and online you get offered a wide variety of pencils. The variety here ranges from simple HB pencils to pencil sets tailored to specific tasks. If you are a beginner, please don’t buy the expensive set directly, because for the many exercises a simple HB pencil is enough in the beginning. You can buy this on every corner for little money. If you are a bit lazier ;-), then buy a mechanical pencil, which you usually don’t have to sharpen.
Affiliate-Links (Amazon):

Cheap pencils for beginners
for under 1 euro

A mechanical pencil for lazy sharpeners
for 2 to 5 euro

Pencils in different thicknesses
for
for 10 to 25 euro
Eraser
An eraser should be as permanent a part of your drawing supplies as a pencil. Of course, there are many different erasers, and you can use all of them at the beginning. However, it should be a little softer so it doesn’t scratch the paper you’re drawing on. It should also not blur the pencil lines. Therefore, please try out your eraser with a few pencil strokes before you actually use it when drawing.
For slightly more experienced drafters, we recommend a kneaded eraser. The does not smear, does not produce lint and is also in a creative process a wonderful kneading toy for the breaks in between 😉 .

Eraser costs at a glance
In the case of erasers, we would recommend using the cheaper versions at the beginning. However, as soon as you want to pursue drawing as a more serious hobby or even a profession, you should get the slightly better variants. Here we prefer kneaded rubbers, because they leave no residue and do not stain.
Affiliate-Links (Amazon):

Cheap eraser for beginners
for under 1 euro

A slightly better eraser
for 2 to 5 euro

Kneaded erasers
for 5 to 10 euro
Fineliner
Finelinersare mostly used to add clear contrasts to the edges of a drawing, for example. Mostly these are used to create comic or manga drawings. Of course, you can also use it to create very good illustrations or even very detailed drawings. Fineliners can be purchased in a wide range of thicknesses, although in our opinion the most commonly used thicknesses are 0.1 mm, 0.3 mm and 0.5 mm. For filling in larger areas, it is better to use a felt-tip pen or a marker, as this protects the fineliners.

Basically, it can be said that the thinner the fineliner, the more detailed the drawings that can be created with it. The shading created with thin fineliners is just as detailed. Of course, though, it absolutely depends on the style you want to go with.
Fineliner costs at a glance
With the Fineliners, we can see that it’s worth spending a little more money. Of course, you’ll be fine with Stabilo’s cheaper fineliners, but once you’ve tried the more expensive versions, you won’t want to miss them. We have even arrived at the fineliners from Faber-Castell at the moment and will probably stick with them for the time being. When drawing, these simply do not smudge, glide cleanly over the paper and form very clear lines.
Affiliate-Links (Amazon):

10 cheaper fineliners
for 4 to 5 euro

4 fineliners of different thickness
for 10 to 15 euro

8 fineliners of different thickness
for 20 euro
A video course and ebook for anyone who wants to start drawing right away. Here, the basics are explained quickly. With the help of included practice sheets and accompanying video tutorials, this course allows everyone to quickly learn the basics of drawing.
Crayons
You surely know crayons from your childhood days. Often these are thought to be beginner drawing tools and something more likely to be used by children. But they can also be used to create and colorize beautiful images. They come in a wide variety of designs and from a wide variety of manufacturers.
The basic rule here, however, should be that you first learn how to use a pencil before you approach coloring with colored pencils. Here, the shading must first be learned so that the coloring with the colored pencils looks really good.

Cost of colored pencils at a glance
Almost the same rules apply to colored pencils as to pencils. Good results can also be achieved with the inexpensive ones. But the slightly more expensive ones offer some advantages in terms of quality. Here, too, it is best to start cheaply and, when you have mastered them, to buy the high-quality ones.
Affiliate-Links (Amazon):

Pack of 12 crayons
for 6 euro

Set of 24 in good quality
for 15 to 20 euros

Package of 120 with a variety of colors
for 30 to 50 euros
Felt tip pens
Felt-tip pensare in themselves very versatile drawing tools. The usual felt-tip pens can be used to color individual areas in a single color. You can also experiment with it a bit and create pictures with felt pens, for example. Here, the shades are simply represented by different colors.
Usually, however, you only use a black felt-tip pen to fill in larger areas in fineliner drawings. In general, felt-tip pens are hardly ever used, since they do not produce any shading and often soak the paper. So these are really more for children, but schools are increasingly banning felt-tip pens from the classroom.

Cost of felt tip pens at a glance
Felt tip pens tend to be quite inexpensive compared to markers, which we’ll get to in a moment. After all, they are mostly used by children for drawing. The cost of these drawing tools is really limited and is rather measured by the amount of felt tip pens. So you’re really not getting poor on it.
Affiliate-Links (Amazon):

10 cheaper felt tip pens
for 3 to 4 euro

24 felt tip pens medium price range
for 5 to 6 euro

50 upscale felt tip pens
for 10 to 15 euro
Marker
With markers, the world looks different again. These are far more expensive than felt-tip pens, but also offer more fields of application. These are characterized by the fact that initially you can get them in any color imaginable. There are small sets of 5 different markers for the shades of gray.
The advantage is that marker strokes on paper become more intense or darker the more often you color an area with them. This allows you to set very beautiful shades.

Markers are generally very popular with designers to create initial sketches of a product. Generally, you use this mostly when you want to shade a concept drawing or sketch. So if you want to get a better feel for the image. Whether you use markers for drawings is up to you. This is purely a matter of taste.
Marker costs at a glance
With markers, it’s a matter of taste, but that can quickly become very expensive here. For markers from Copic, for example, are very expensive (but also very good). Fortunately, there are already some alternatives here that are a bit more affordable. We have already tried a few and have some cheaper variants as well as the Copics in use with us. So try it out and find your favorites.
Affiliate-Links (Amazon):

12 cheaper markers
for 30 euro

12 markers medium price range
for 40 euro

12 Copic markers
for 50 to 70 euros
Charcoal, graphite or chalk
The drawing tools charcoal, graphite or various chalks are actually more in the realm of artistic drawing. These also develop their effect only on larger drawings. They are very intense and somewhat difficult to work with, as the painting usually cannot be erased.
Especially at the starting point, we think these tools are the wrong approach. You should only start using these drawing tools once you have some practice in drawing. DBut they are a lot of fun and open up a lot of room for creativity.

Costs of chalk & co. at a glance
With these drawing tools it goes in the direction of sophisticated art and thus drawing charcoal is also not exactly as cheap as a pencil. Depending on how dark the pictures you paint turn out, the charcoal is also used up quite quickly.
It’s the same with graphite, in terms of cost. However, consumption is lower here.
Chalk can be used quite well for color-intensive pictures. This is mostly available for art use as pastel chalk.
Affiliate-Links (Amazon):

Drawing charcoal
for about 10 euro

A graphite set is usually
at 15 to 20 euro

Pastel chalk
for 10 to 20 euros
A video course and eBook for anyone who wants to start drawing right away. Here, the basics are explained quickly. With the help of included practice sheets and accompanying video tutorials, this course allows everyone to quickly learn the basics of drawing.
Brush
Brushesare among the standard drawing tools, although they are more commonly used for drawing with watercolor, acrylic, or oil paints. These are usually used to make paintings or somewhat larger pictures. This form of drawing is also something that is better approached with existing practice in drawing, unless it is abstract painting. However, we will not cover these in our classes because abstract painting or drawing is a different art form. Nevertheless, in the course we will also show you some techniques that you can use to color a picture with brushes or even paint a complete painting yourself.

Cost of brushes and paints at a glance
Brushes are available in all price ranges. Here it also depends on what you want to paint and with what. There are also different brushes for the different colors. For example, when painting with watercolors, you should naturally use soft and filigree brushes, whereas drawing with acrylics or oils requires much harder brushes.
So before you make the brush selection, you should decide on the right color. With paints, however, you have to pay attention to the amount you need, because the more of a color you need, the larger the paint tube and thus the price. For now, we have put together the small sets for you here.
Affiliate-Links (Amazon):
Brush

Aquarelle brushes
for 10 to 20 euros

Cheap brushes for acrylic or oil
for 3 to 10 euro

Complete sets for acrylic or oil
for 20 to 30 euros
Colors

Aquarelle paints
for 10 to 20 euros

Acrylic paints
for 10 to 20 euros

Oil paints
for 10 to 20 euros
Sketchbooks and paper
Sketchbooks and paperare not tools, but are included here for completeness. These are again available in all possible price categories.
As a beginner, you should again rather choose the cheap variants. After that, of course, you can always opt for the more expensive variants once you’ve mastered the basics. Here we briefly show you the different sketchbooks and paper, as well as the associated costs. After that, of course, you can always opt for the more expensive variants once you’ve mastered the basics.

Costs of sketchbooks and paper at a glance
In principle, many different books or notebooks can be used as sketchbooks. We list here only the right sketchbooks with suitable paper. For paper, we show you some alternatives for different applications.
Affiliate-Links (Amazon):
Sketchbooks

Cheaper sketchbooks
for 5 to 10 euro

Medium price range and quality
for 10 to 20 euros

More expensive sketchbooks
for over 20 euro
Paper

Paper for pencil drawings
for 5 to 10 euro

Paper for watercolor drawings
for 5 to 10 euro

Good paper for combined drawing
for 5 to 10 euro
Graphics tablet for PC
The tabletis a digital drawing tooland is used to create a drawing completely digitally or to color a scanned drawing. The tablet in itself replaces the mouse and can accurately transfer the line thickness to the image by applying pressure to the pen.
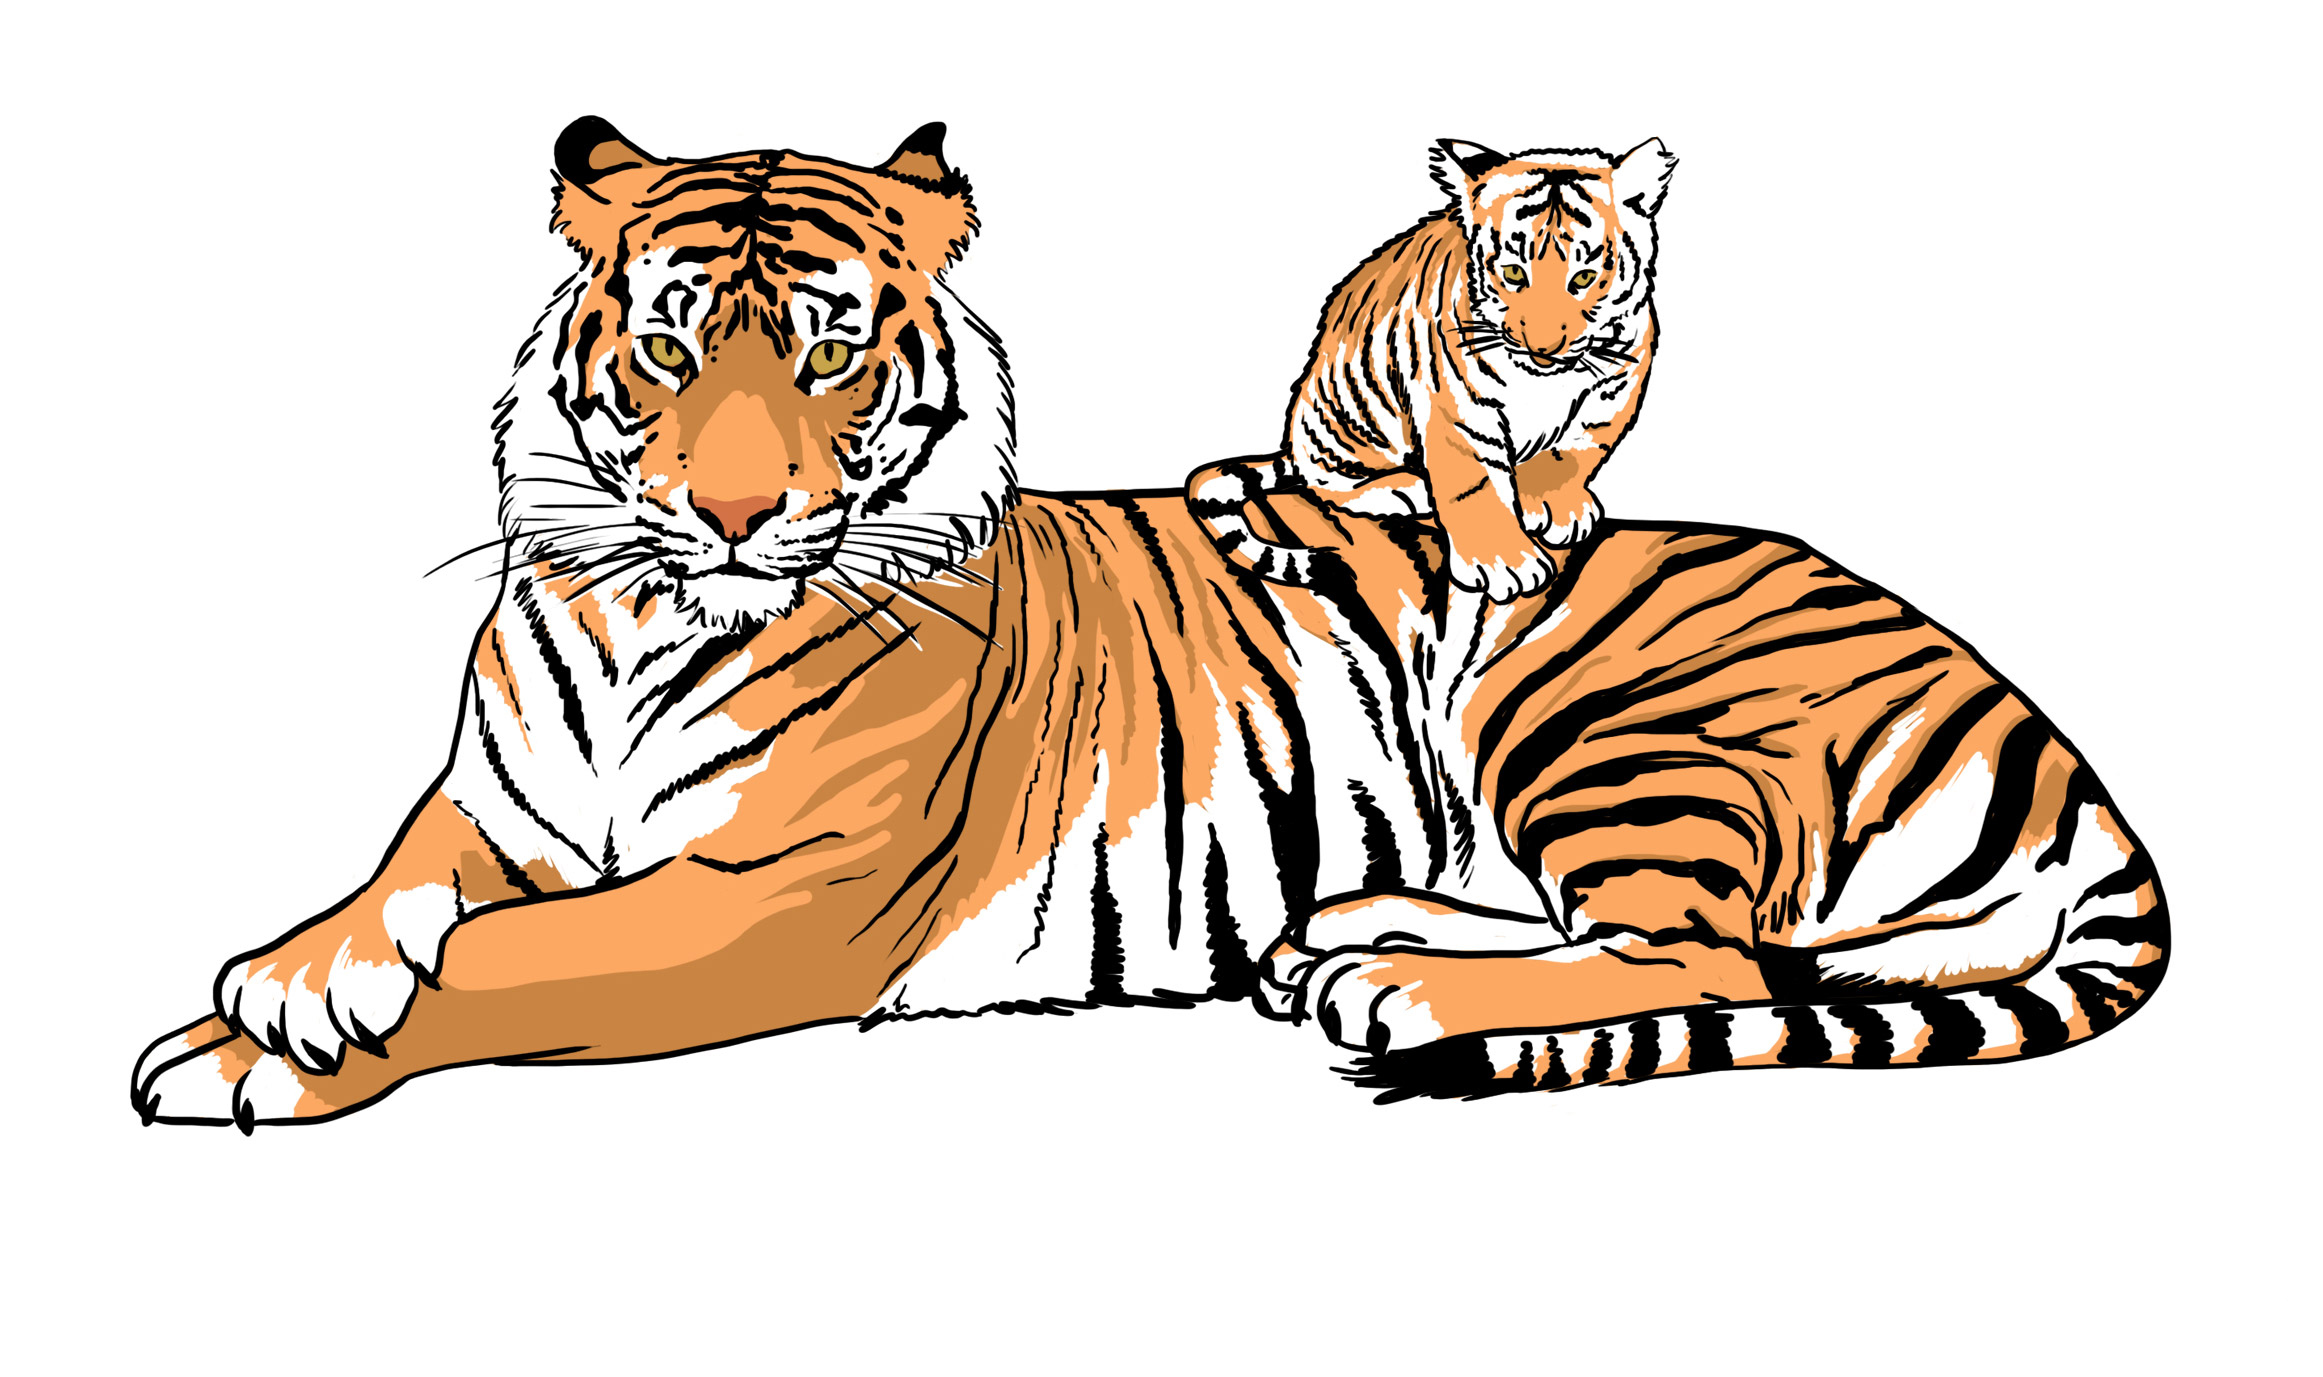
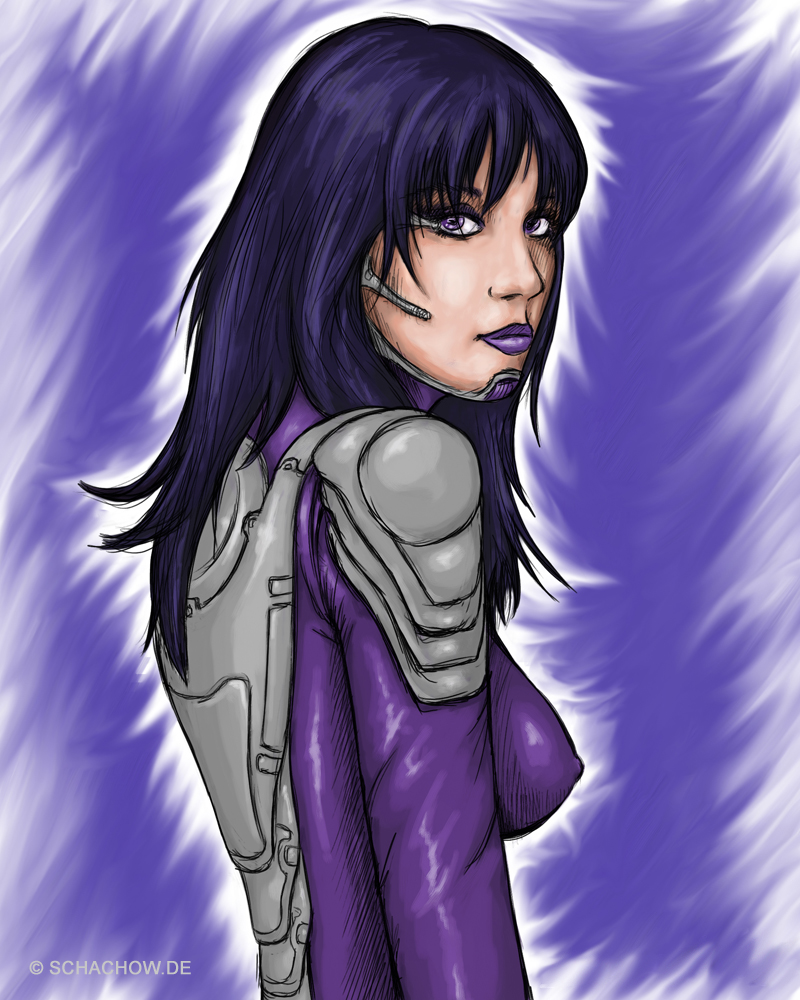
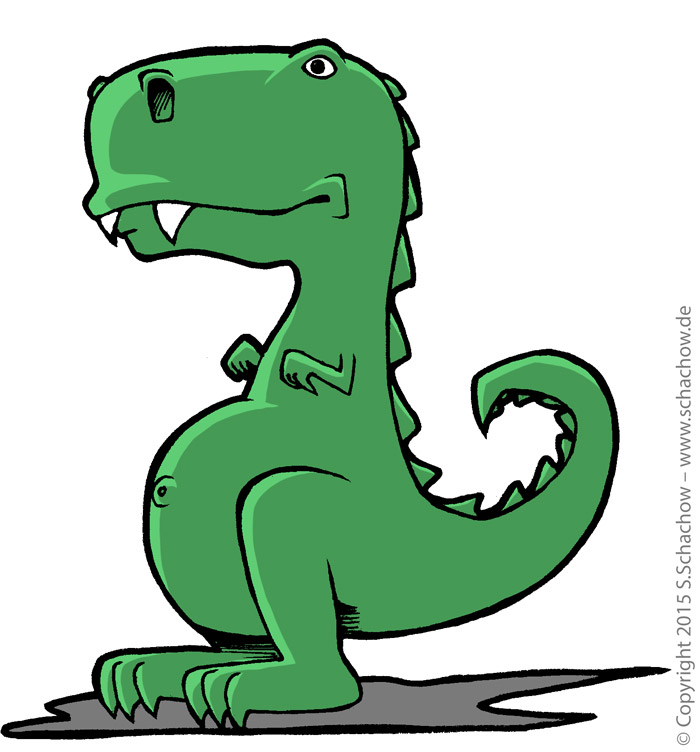
The graphics tablet is mostly used with image editing programs, such as Krita, Photoshop or openCanvas. In these programs you can then draw a picture from a sketch to a complete digitally created image. For the individual strokes, the software emulates different pens or brushes in the corresponding specified color and thickness. The result can usually be seen, as you can see, for example, in the following pictures.


Costs of graphics tablets at a glance
Graphics tablets are the top class in terms of cost. A tablet in a reasonable size can already cost quite a bit here. Here, however, I am not talking about 50 euros, but rather about 100 to 500 euros. If you like it even more sophisticated and want a tablet-screen combination, then you quickly slide into an amount over 1,500 Euros. So this category is more for those of you who are a bit more advanced and serious about drawing.
Affiliate-Links (Amazon):

Smaller tablet
for 100 to 200 euros

A very good tablet
for 200 to 500 euro

Screen and tablet combination
for 500 to 2.000 Euro
Tablet with a drawing pen
This category is just joining the drawing world. These are tablets from Apple or other manufacturers on which it is possible to draw with the help of special pens, such as the Apple Pencil. These mimic a pencil of any type almost perfectly and can also determine the tilt of the pencil, so you can also do shading like you would with a pencil.
One alternative that we know well is the Apple iPad Pro and the corresponding Apple Pencil. This combination is currently very well suited for drafters and together with a suitable drawing app, such as Procreate, replaces the paper and any kind of pens.

Costs of tablets with pens at a glance
This is where it gets a bit thicker, because the costs also suggest that these alternatives are perhaps not exactly for beginners. Again, you might not want to invest until you’re actually serious about drawing.
Affiliate-Links (Amazon):

Small tablet
from 300 euro

Larger tablets with a lot of power
from 1.000 Euro

The right pen
for about 100 euros
A few words at the end
As you can easily see, the field of drawing tools is very extensive. However, we will introduce you to all the tools in the following courses to show you which drawing step or style they are suitable for. Additionally, you will get the appropriate tips from us on how to use these drawing tools.
So, go for it! We wish you a lot of fun with it!
A video course and ebook for anyone who wants to start drawing right away. Here, the basics are explained quickly. With the help of included practice sheets and accompanying video tutorials, this course allows everyone to quickly learn the basics of drawing.