
We’ve created a for you to learn how to draw right away. Get started now!
Listen to the full article:
Now that we’ve learned about drawing tools, the next step is to understand which tools you’ll need for which drawing step. So let’s get an overview of the individual drawing steps. Not all of them are obligatory for the creation of a drawing. However, the overview helps beginners to get more familiar with the world of drawing. Once you’ve had some practice, you’ll be able to skip the steps of image creation with ease.
The drawing steps in overview

The individual drawing steps typically consist of a rough sketch followed by a detailed sketch. The detail drawing and the following colored drawing can be done in different styles. The digitization then provides the appropriate digital processing of your drawing.
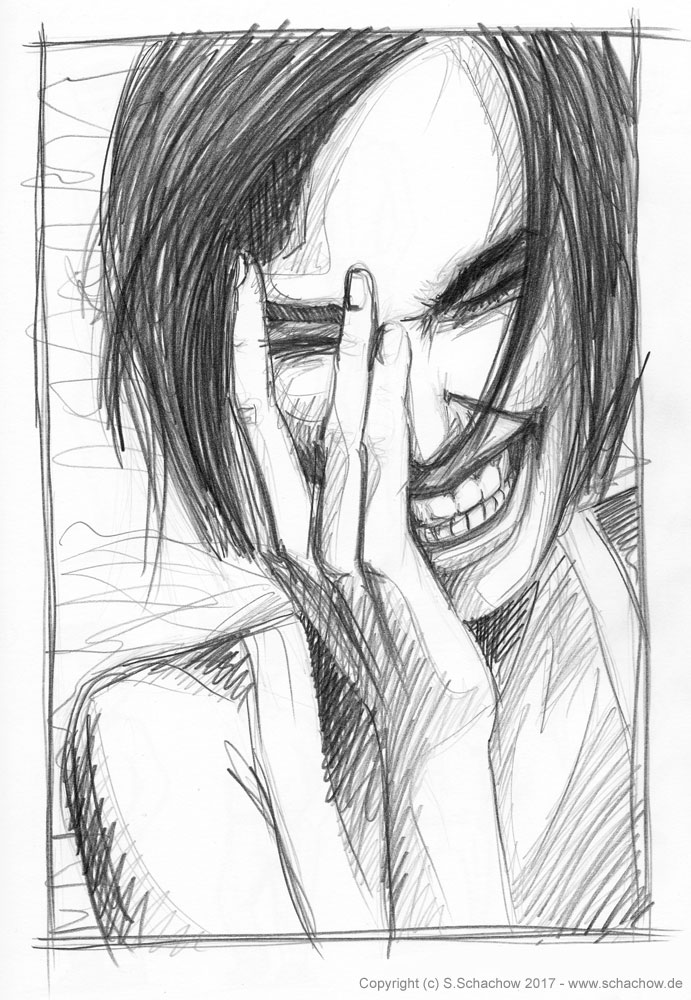
Rough sketch
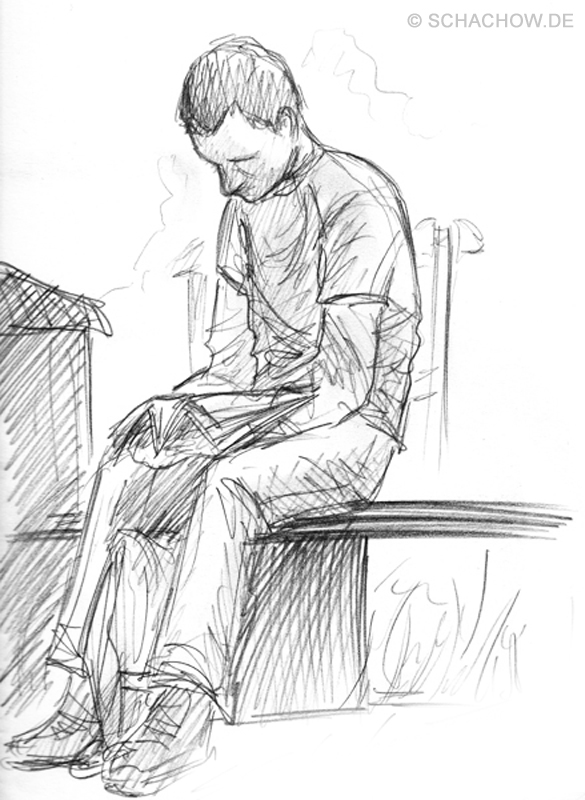
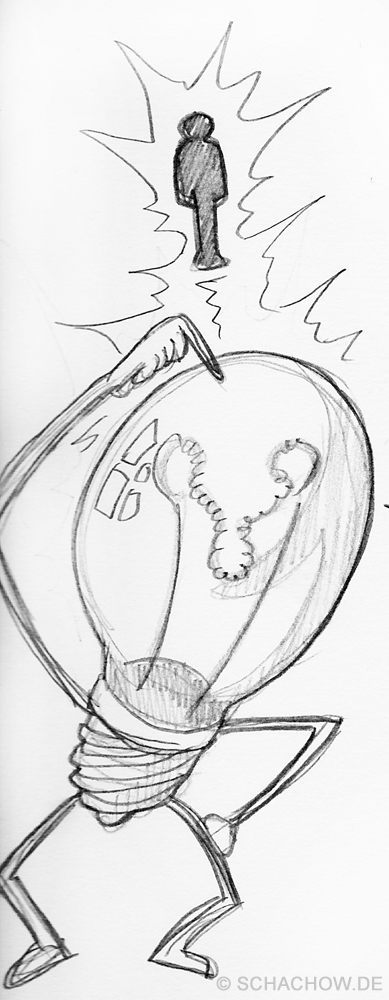
The rough sketchis usually used to sketch a scene, a body position or a perspective. This involves trying out a scene in several perspectives and then selecting the one that suits the drawing. When it comes to characters who will be part of the scene, several rough sketches are made to test their body positions. For example, you first draw the persons in the form of skeletons (here skeleton means the basic design for the body, which we will discuss in detail later). With the rough sketch, you first convert your idea or conception into a rough picture.
Drawing tools for rough sketches
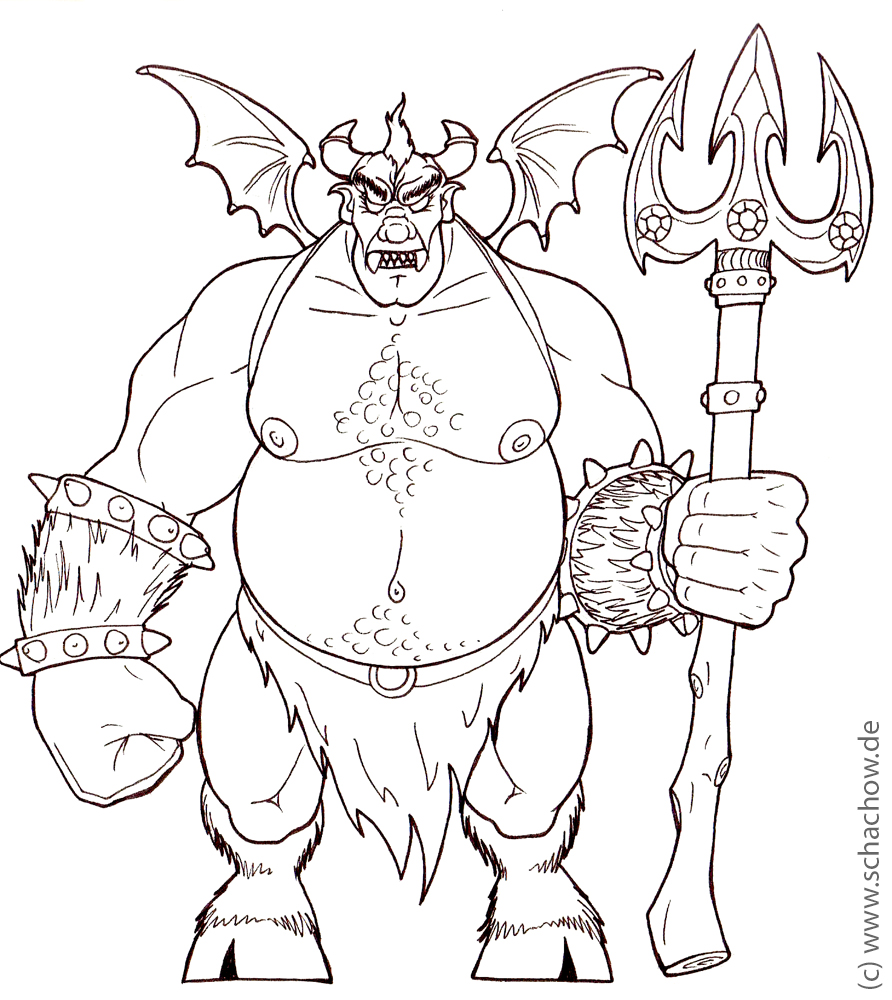
Here are some examples of a rough sketch:


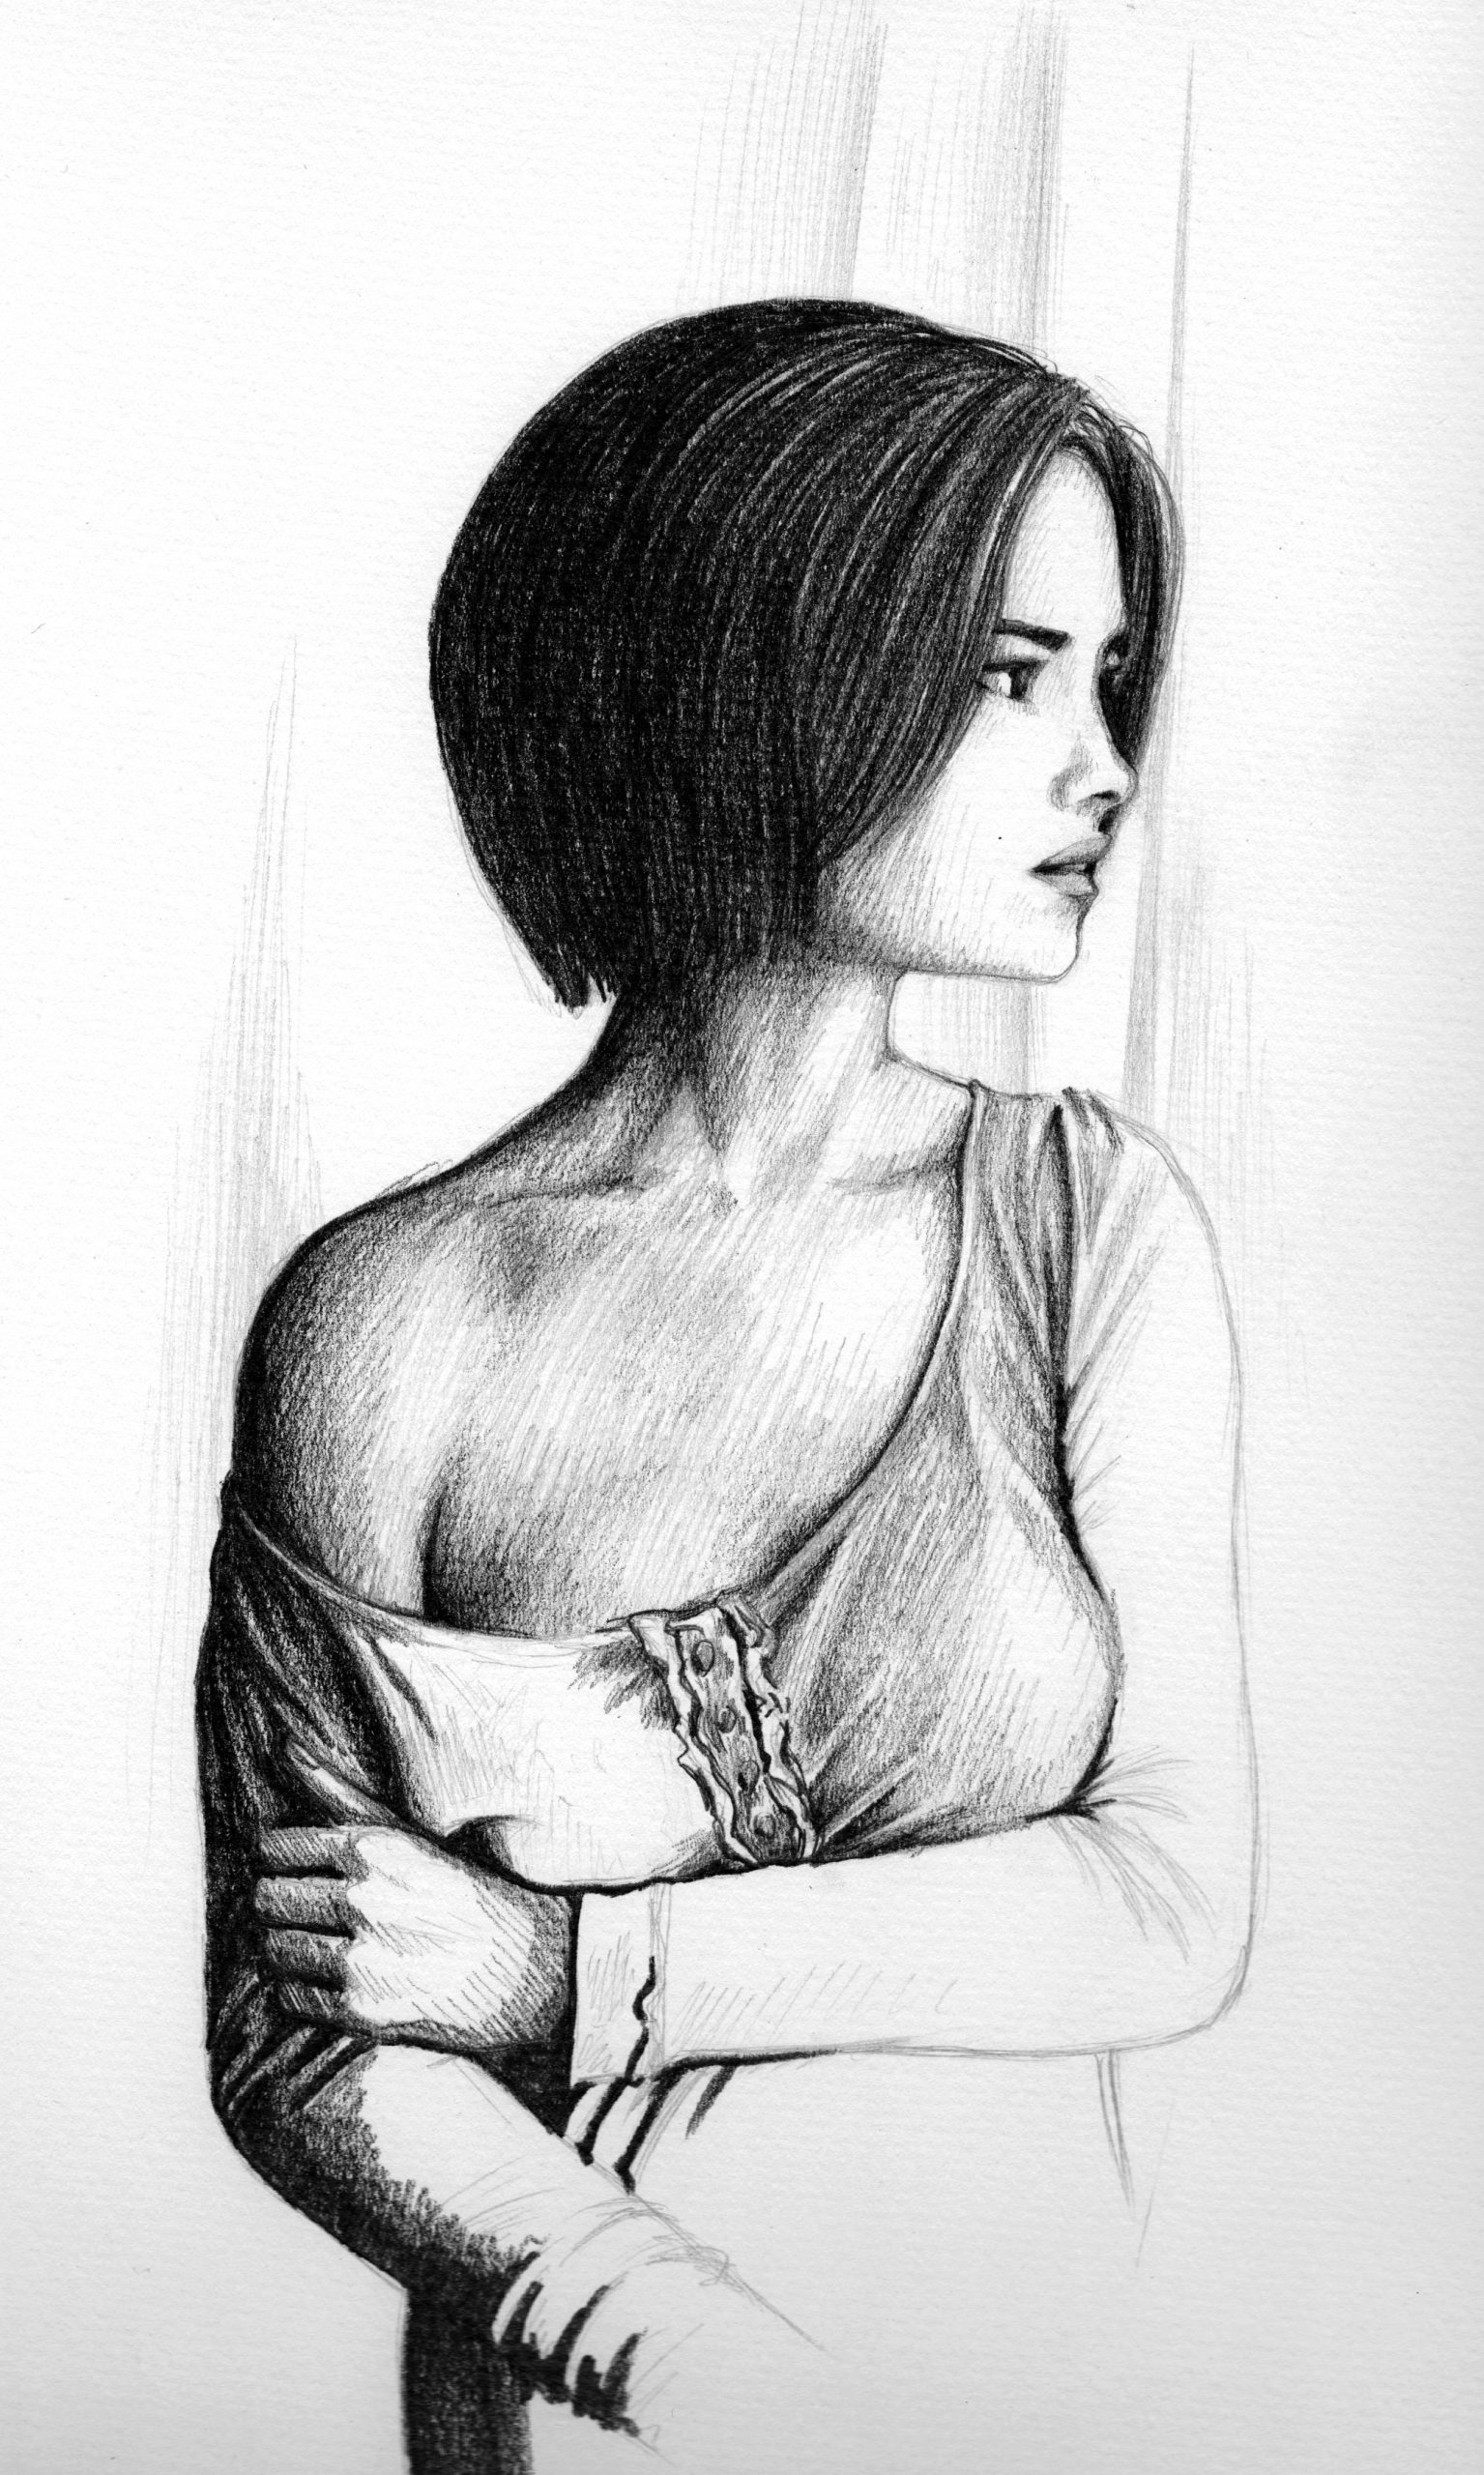
Detailed sketch
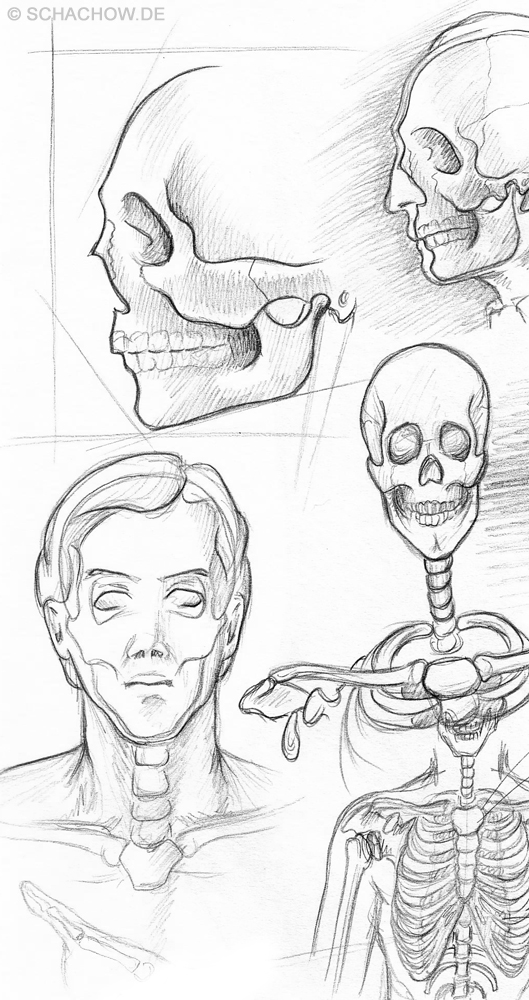
A detailed sketch can have a rough sketch as its basis, but this is not a requirement. Skilled drafters in particular move very quickly to skipping the rough sketches, as years of practice allow them to turn their ideas into detailed sketches or drawings very quickly. But basicallyin this sketch the picture is designed in detail. Typically, you try to captureall the details of the scene and the characters and already try out the first shades. The detailing of the buildings or individual parts of the characters’ bodies are also part of this, of course.
Drawing tools for detailed sketches
The drawing tool that is definitely best suited for a detailed sketch is probably the pencil. If you create them digitally, it’s always thetablet. The eraser is of course also used here in one place or another. Experienced draftsmen, however, will always have to erase less.
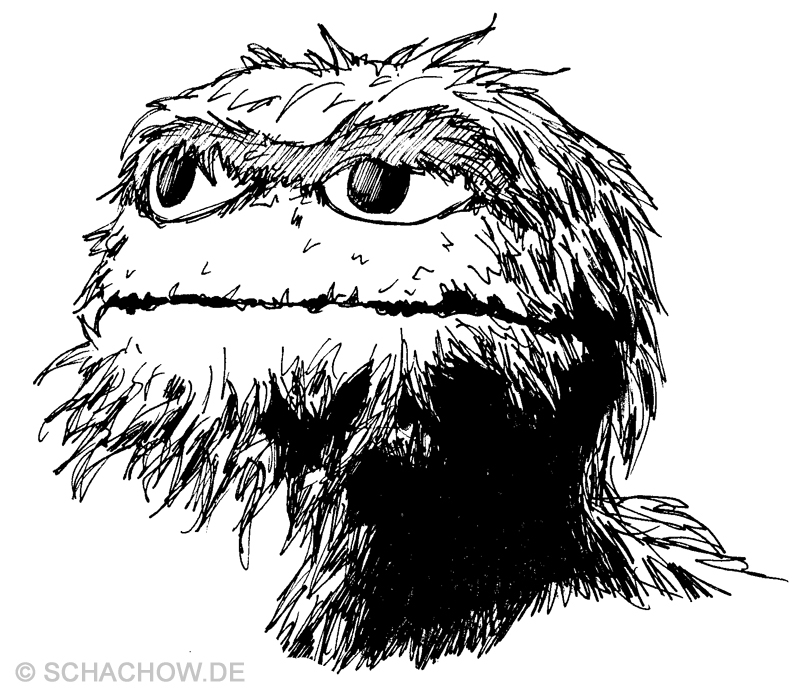
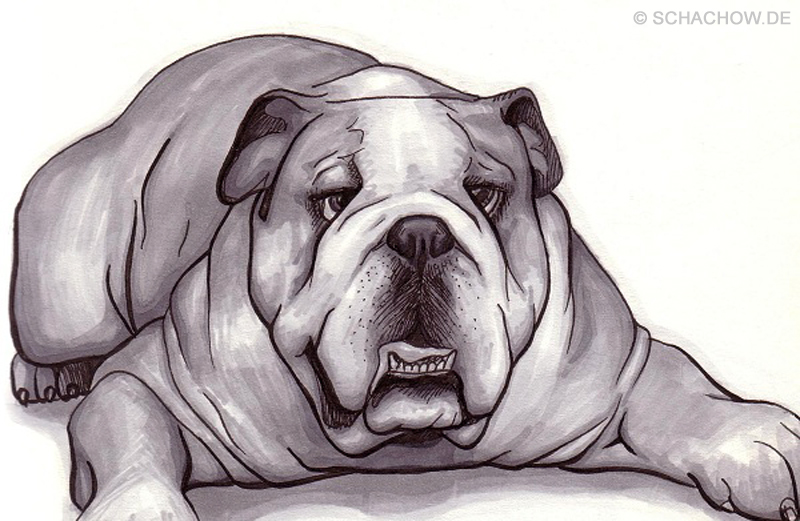
Here are some examples of a detailed sketch:


A video course and ebook for anyone who wants to start drawing right away. Here, the basics are explained quickly. With the help of included practice sheets and accompanying video tutorials, this course allows everyone to quickly learn the basics of drawing.
Detail drawing
A detailed drawing can of course include different types of drawings. We will narrow this down into a few categories for our needs and keep it very clear.
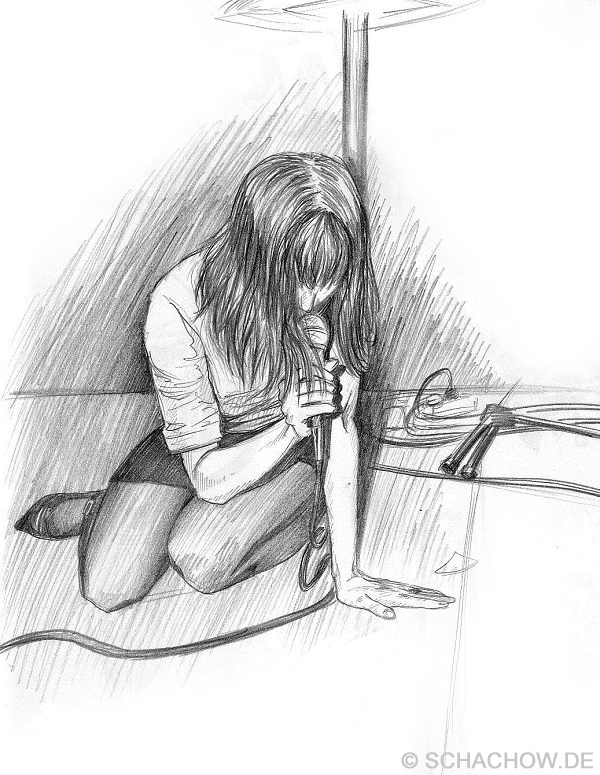
The first category is a more detailed pencil drawing. Here we would limit this to the use of different pencil thicknesses or, for example, charcoal. With this you then create, for example, a detailed pencil drawing or even paint a large picture with charcoal and chalk.
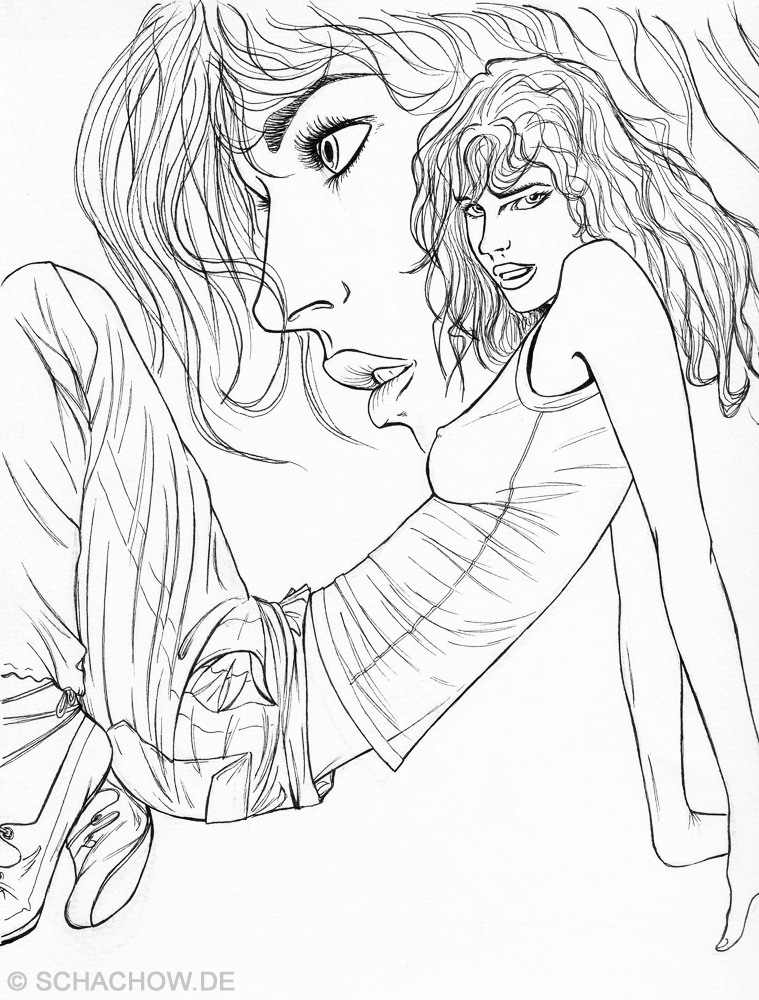
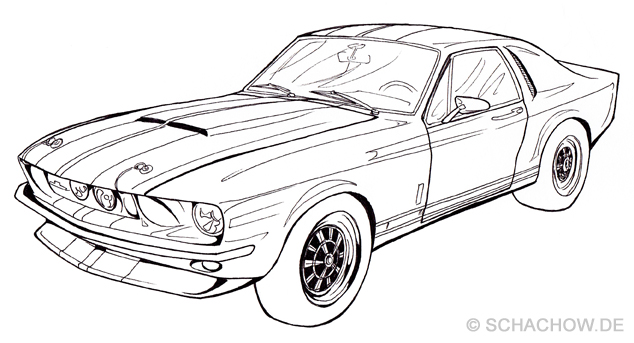
The second category for us would be tracing the fine sketch with ink or fineliners. This level of detail is used in comics or manga.
Drawing tools for detailed drawings
So the right drawing tools here are, for example, pencils with different line widths. This allows you to set much stronger contrasts in the shades. We would not recommend coal for the beginning.
For the second category, it is best to use fineliners of different thickness. Work your way from thin to thick.
Again, with a completely digitally created drawing, the Tablet is the artist’s choice.
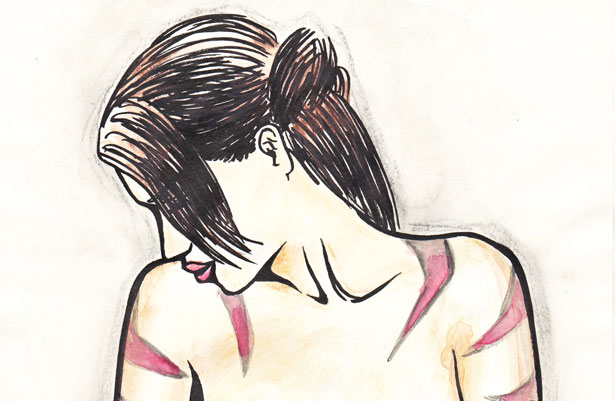
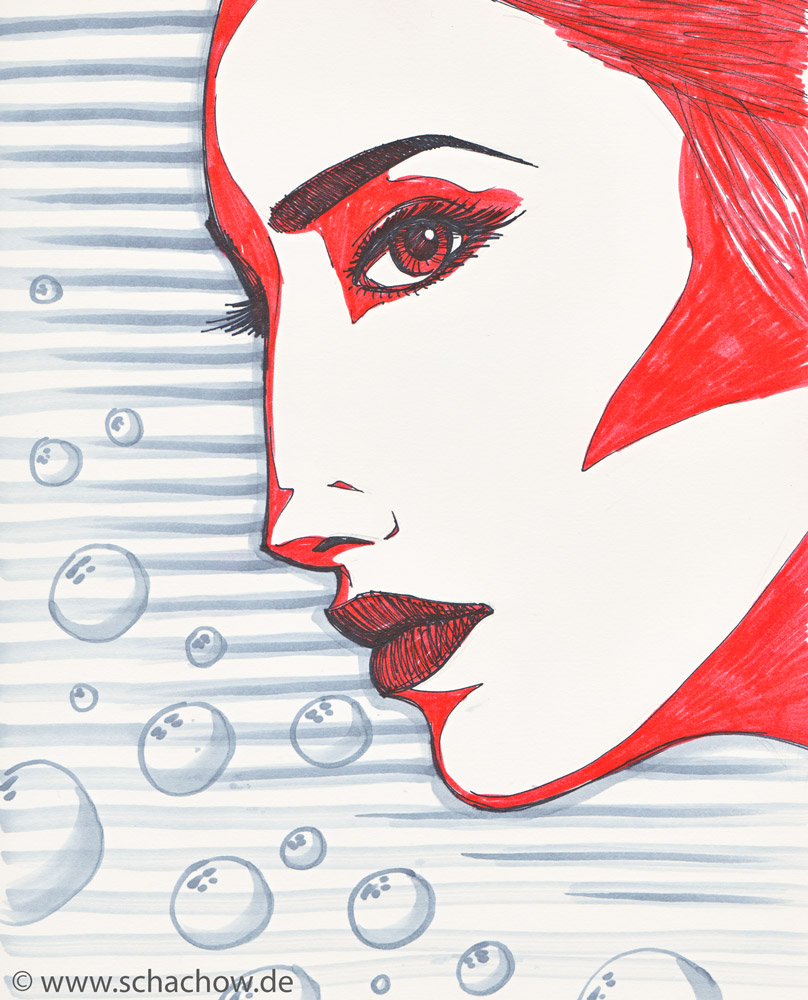
Here are some examples of a detailed drawing:


Colorization
Color is another way to add more life to a drawing. The colorization can either be a separate part of your drawing process or simply a part of the digital processing. If you do the coloring with the usual drawing tools, such as colored pencils or markers, then you usually use a detailed drawing as a basis. You often use a fineliner drawing to color it later with colored pencils. But to practice a bit you can also use a copy of your detail drawing. Please do not use a copy from an inkjet printer, but from a copier or laser printer, otherwise your coloring will smear the ink.
Drawing tools for colorization
For colorization, it’s best to use the usual drawing tools. This is where your preference for each tool plays a big role. Use colored pencils, brushes with watercolor or water-based paints, or markers. The choice is more up to you. Here you can also experiment very well with different tools and give free rein to your creativity.
For a completely digitally created drawing, the choice falls on the tablet.
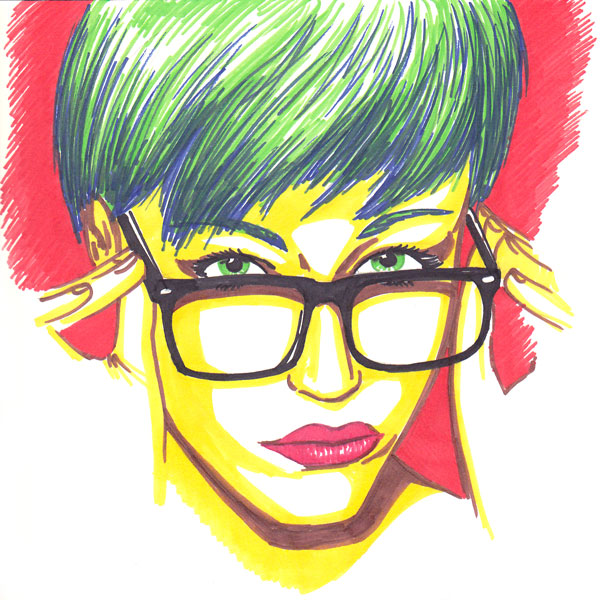
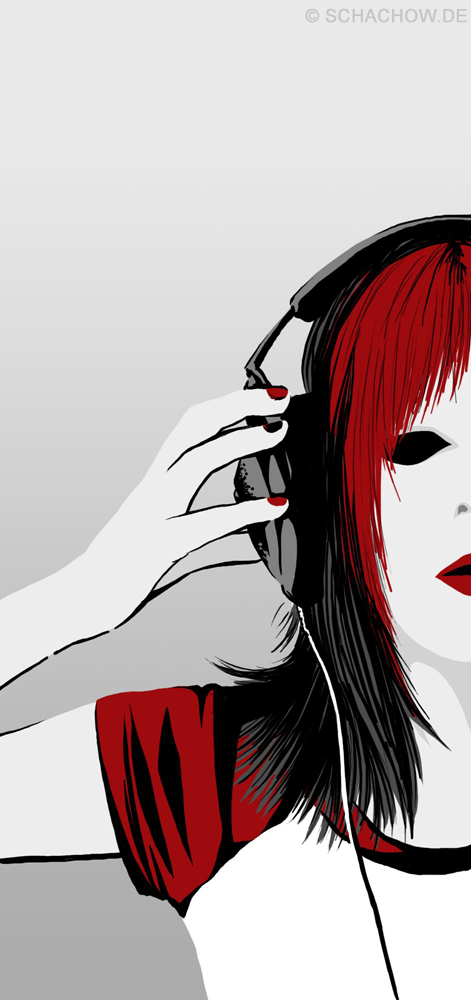
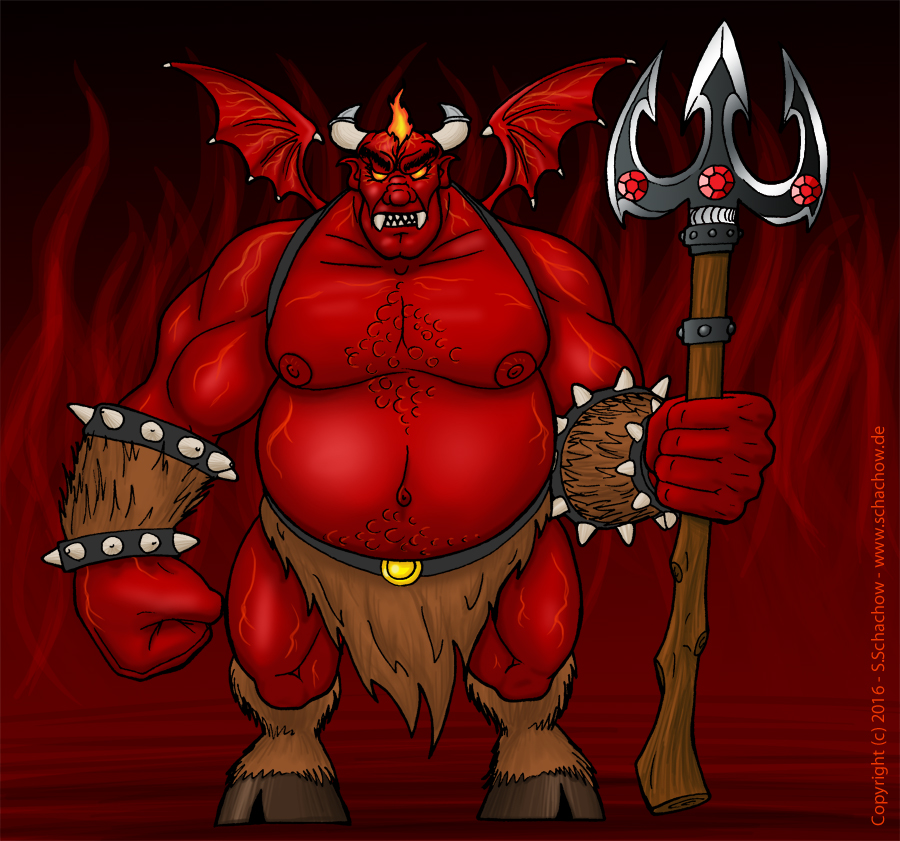
Here are some examples of colored drawings:


Digitalization
The digitalization is one of the modern drawing methods. One form of digitization is photographing or scanning your finished sketch or drawing. You can then post these online, for example, or send them by e-mail. Another form is scanning a drawing in order to digitally edit or colorize it. This can be a sketch that you then digitally trace. Or it can be a fineliner drawing that you scan and digitally convert into a beautiful comic book drawing. The end result is always a drawing that you save in a common image format (JPG or PNG) to share with others, for example, in a community or on your website.
Drawing tools for digitalization
Very important in this step is a scanner with which you digitize your drawings. Here you have to play with different settings depending on the scanner to get the best result.
For the digital coloring of the drawings, it is best to use a tablet in conjunction with an image editing program.
Here are some examples of colored drawings:


A few words at the end
The individual drawing steps are meant to point you in a direction and not be a strict framework that you have to stick to no matter what. Our goal here is simply to give you a sense of an approach that works for you. There are no rules for drawing (as you already know)!
So go ahead and start creating your sketches, detailing and coloring them!


A video course and ebook for anyone who wants to start drawing right away. Here, the basics are explained quickly. With the help of included practice sheets and accompanying video tutorials, this course allows everyone to quickly learn the basics of drawing.