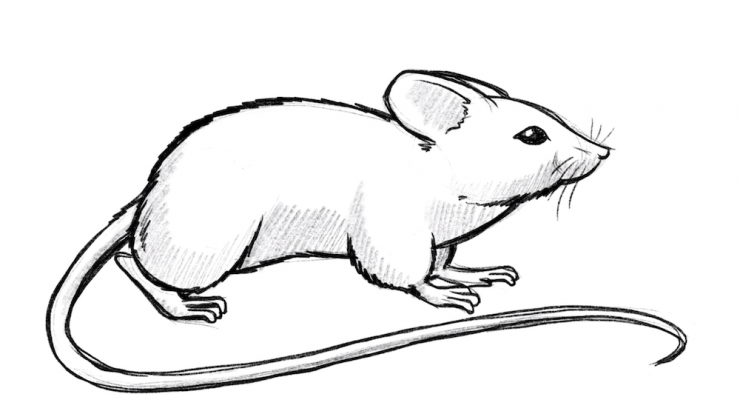
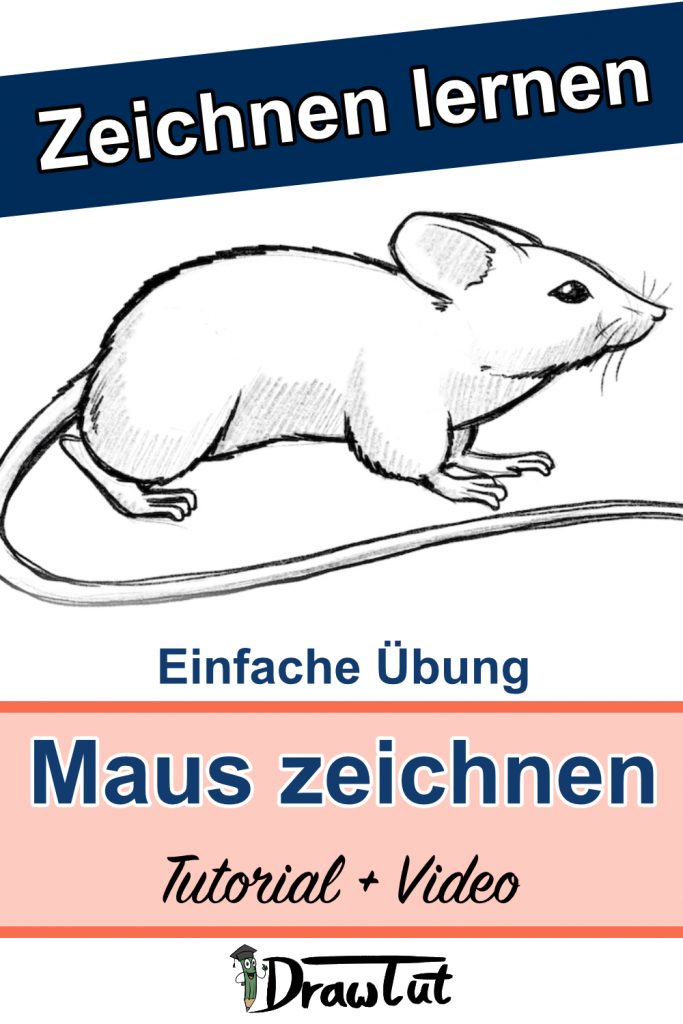
Learn in this exercise how to draw a mouse using simple shapes. Simple circles are used to build the body and the head. These are then combined by simple strokes and shading to form the image of a mouse.
The exercise is based on the simplest shapes. You can learn how to draw the basic shapes in one of our drawing exercises. We also offer a separate course for shading.
Use a pencil and an eraser for the exercise.
Video Tutorial: Drawing a Mouse
This video shows each step and accompanies you through the exercise. Just draw each step and in a few minutes you’ll have your own mouse drawn.
Draw Mouse Exercise – Step by Step explained
With the help of this exercise you can follow the individual steps without the video and draw the mouse.
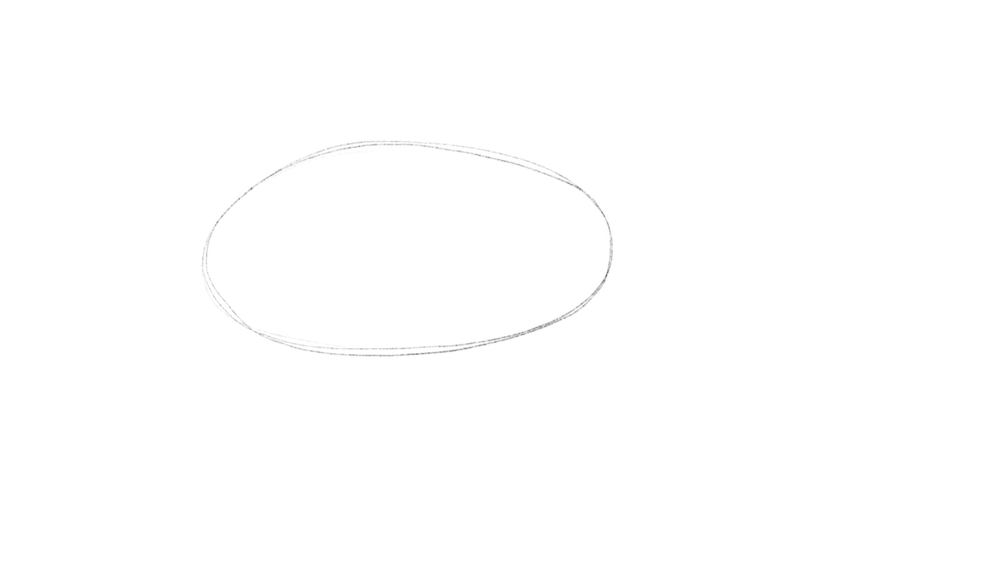
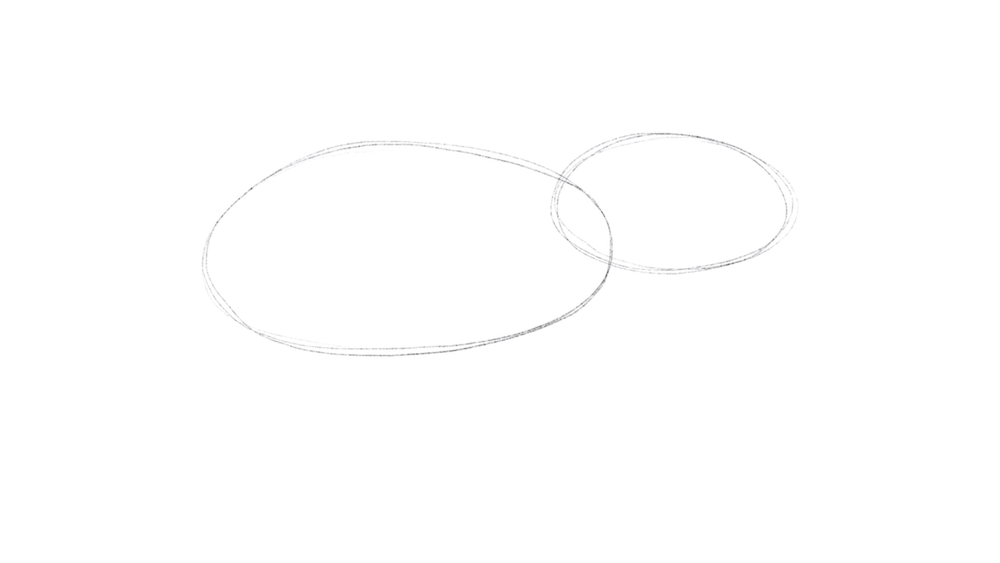
Draw the basic shapes for the body of the mouse
Work with relatively thin pencil strokes that can be easily erased later. Try to apply only a very slight pressure on the pencil. These strokes are for support only.
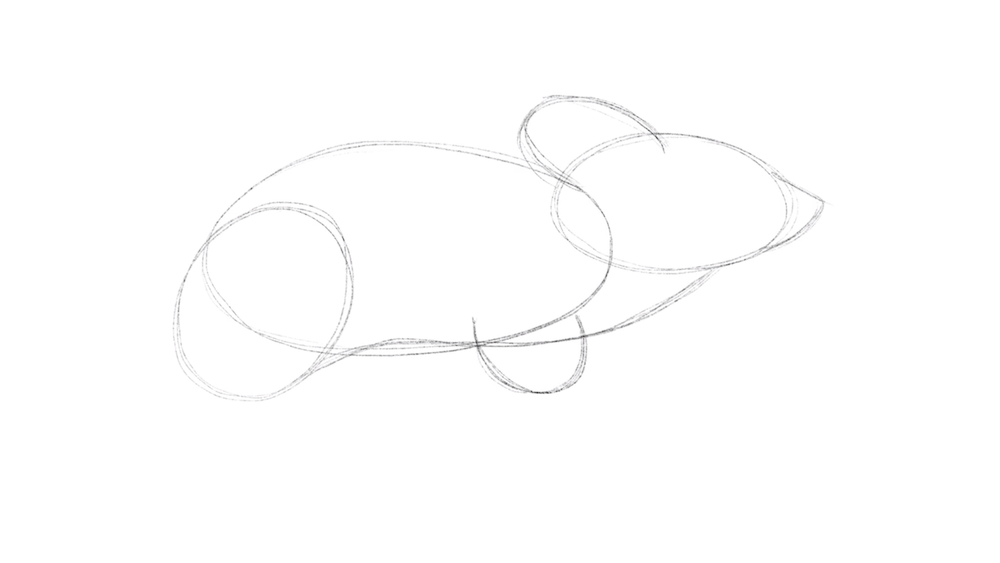


Draw now the mouse
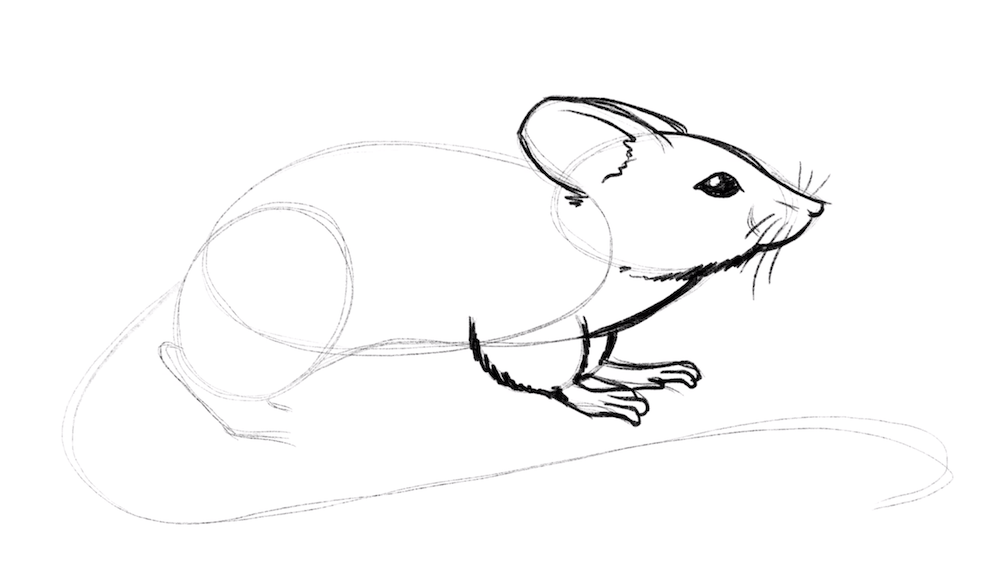
Now use a higher pressure on your pencil to draw the following strokes.

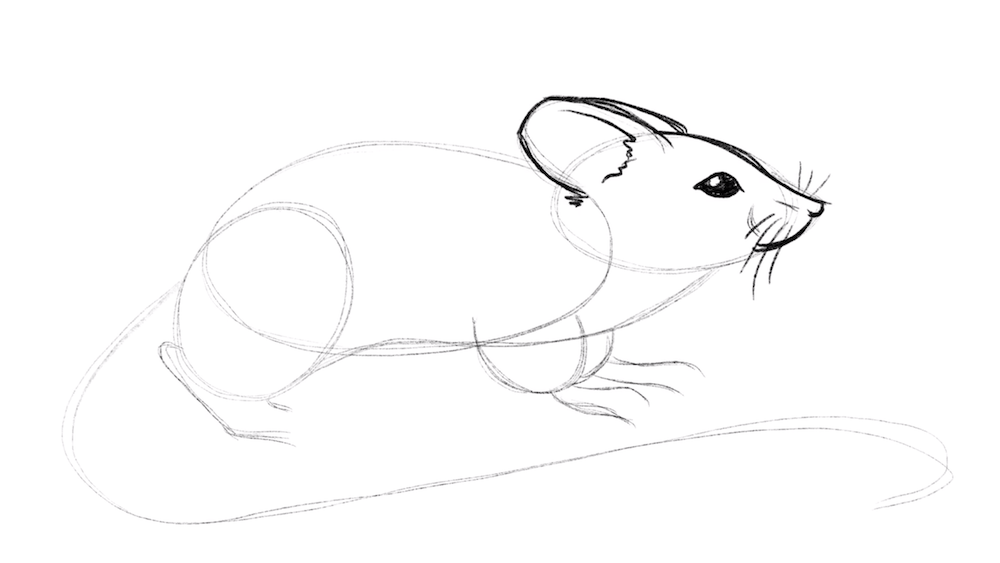

When drawing in areas with more fur (legs, head down or back) use slightly zigzag lines to show the fur better.

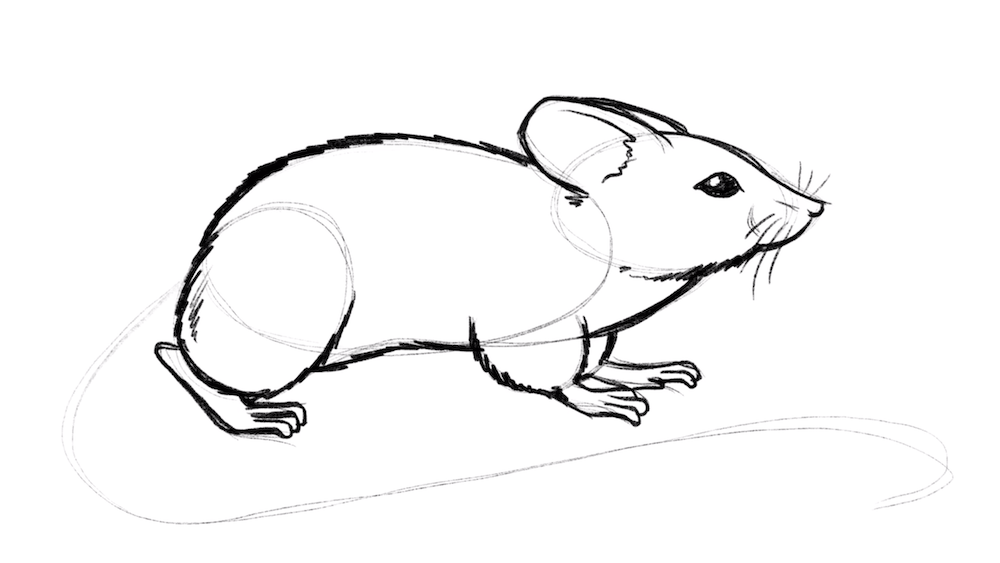

Erase all help lines of the mouse
Now use your eraser to erase all the help lines drawn in the first step.
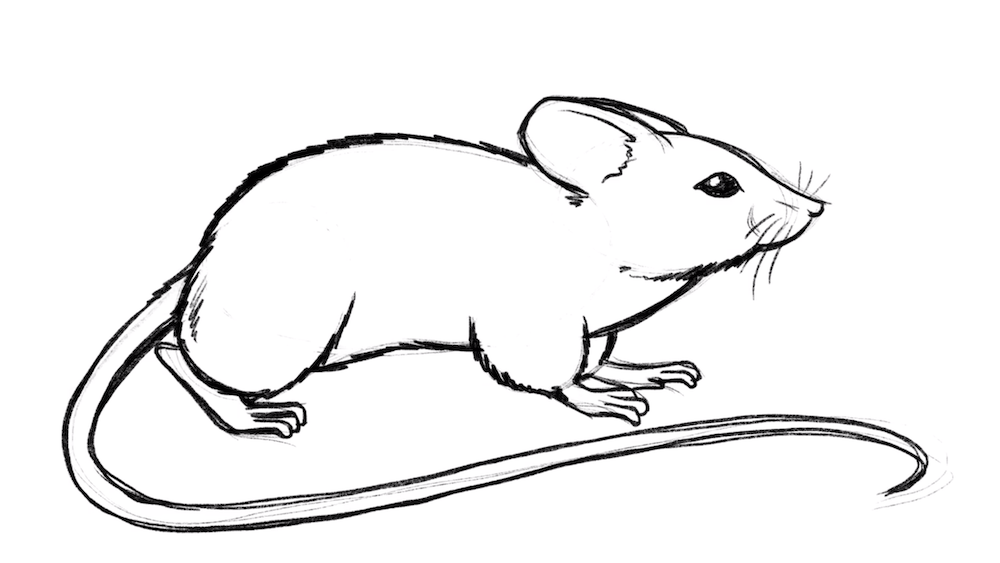
Shadow the drawing with light hatching
Now use your pencil to draw light hatching to add depth to the drawing.

Feedback in the comments
Leave further wishes for tutorials or your feedback in the comments.
Very cute! It was just what I wanted and turned out great, thank you for sharing!