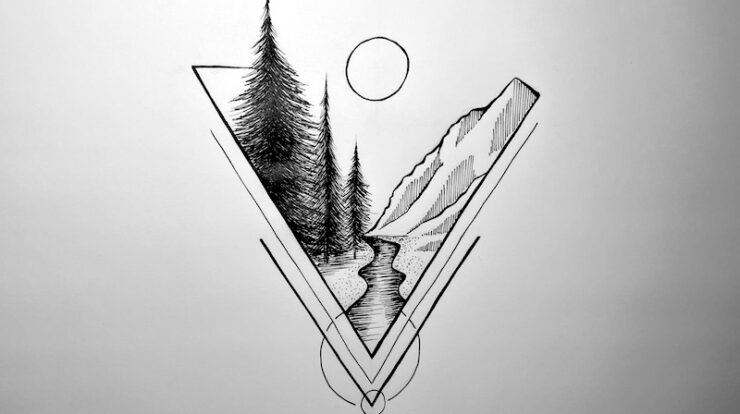
Geometric drawings offer fascinating motifs suitable for both decorations and tattoos. In this drawing exercise, you will learn how to link simple geometric shapes into a harmonious motif and even combine it with an impressive landscape.
The connection between geometries and a landscape might seem unusual at first glance. However, in art, it often involves merging opposites to create something new and exciting.
This exercise will not only expand your skills in handling shapes and lines but also challenge your imagination.
Are you ready to push the boundaries of your creativity and embark on an adventure of shapes?
Let’s dive into the captivating world of geometric landscape art together!
Required Drawing Tools
Before diving into the creative process, ensure you have the right drawing tools at hand:
- Pencil: Use a regular pencil for sketching.
- Fineliner: A fineliner will be used for the actual drawing. Here, a 0.3 fineliner is recommended.
- Eraser: Keep an eraser ready, ensuring it doesn’t damage the paper or smudge the lines.
Geometric Drawing: Video Tutorial
Visual learning is the most effective method for acquiring a new motif or technique. In the following video tutorial, you’ll be guided step by step through the drawing process. This detailed video guide will make it easy for you to follow this instruction and implement it in your own work.
Step-by-Step Guide to Creating Geometric Landscape Art
The geometric drawing might initially appear complex. However, with a systematic approach, it becomes much simpler and an enjoyable endeavor. Follow these steps to bring your artwork to life:
Step 1: Sketching the Geometric Shapes
Start by sketching simple geometric shapes on your paper. Use circles, triangles, squares, and other forms. These will form the basis of your drawing.
Begin with some guide lines.

Then gradually add geometries.

Step 2: Sketching the Landscape
Now roughly draw the landscape as a sketch. Don’t be too detailed and don’t press too hard on the pencil so that the sketch can be easily erased later.

Add mountains, trees or a river.

Step 3: Outlining Shapes with Fineliner
Now draw the shapes with the fineliner. This step is a good way to practice working with the fineliner.

Some lines can be drawn thicker.

Step 4: Drawing Mountains with Fineliner
Now draw irregular lines for the mountains. You can make the lines a little thicker in some places so that some places look like shadows.

Then draw the shadows of the mountains with simple lines.

Step 5: Drawing the River with Fineliner
Now draw the river. First draw the contours and then the water with lines starting from the contours.

Around the river you can indicate the stones with simple dots.

Step 6: Drawing Trees with Fineliner
Now you can draw in the trees. You start with the trunk and then draw curved lines away from the trunk.

For the larger trees, more strokes need to be made to create a darker area.

This can be seen quite well on the foremost tree.

Step 7: Erasing the Sketch
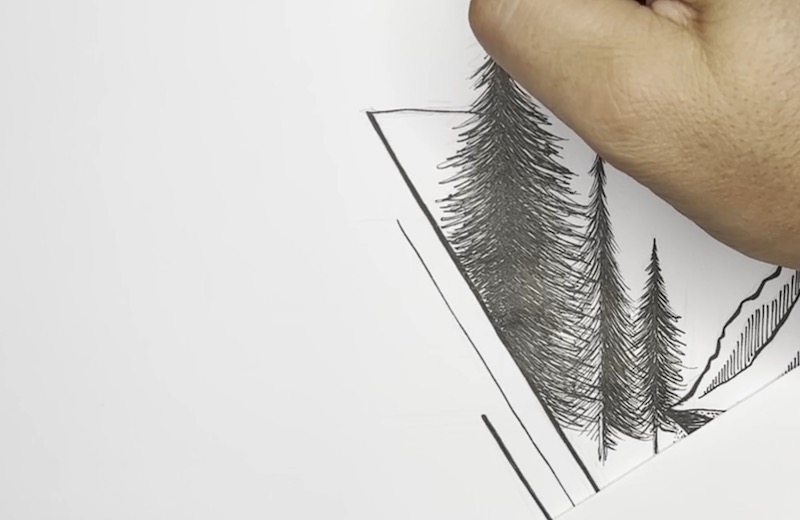
Now you need to erase the strokes from the sketch. But be careful not to crease or damage the paper while erasing.

With this, your geometric drawing is ready.

Continue drawing now
Start a learn to draw course now. Here we have a suitable course for you.
To Learn to Draw Course
