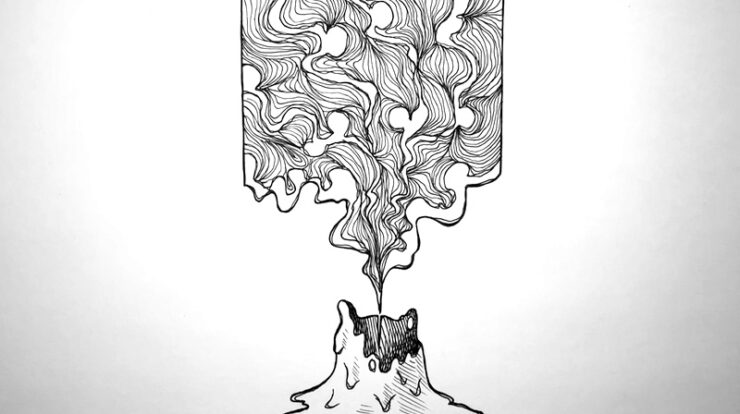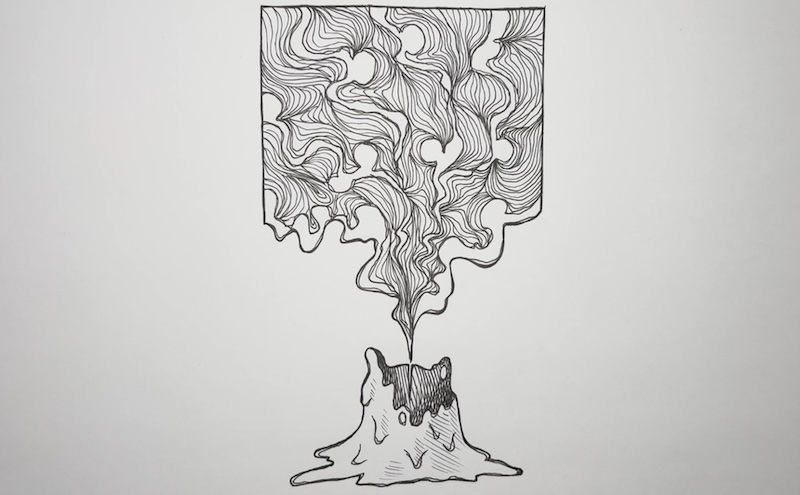
If you draw a candle and its smoke in the way shown here, it can be a great motif that you can also use for decorative purposes. In this tutorial I’ll show you step by step how to draw this candle. So if you’re ready to start drawing, let’s get started.
Drawing tools and materials
A number of different drawing tools are used to create this drawing. A 3B pencil is used for the sketch. The details and contours are drawn with different fineliners (0.3 & 0.5). You will also need an eraser to remove any sketch lines. Here is a short list:
- Drawing paper
- 3B pencil
- Black fineliners in 0.3 and 0.5
- Eraser (preferably kneaded eraser)
Candle and smoke drawing video tutorial
This video will take you step by step through this candle drawing exercise. Each step is shown and explained in detail.
Candle and smoke drawing step by step guide
This motif takes a slightly different approach and gives you the chance to try something new. And with this tutorial, you can follow every step and join in. So let’s draw the candle together!
Step 1: Create a sketch
Before you start drawing, sketch a frame that will enclose the drawing. Draw a rectangular box on your page to define the drawing area. If you already know that you want to frame this design, you can base the size of the box on your picture frame.

Now roughly sketch the candle. Apply very little pressure to the pencil.

Now create the sketch of the smoke. Stay within the previously sketched frame.

Now draw some detail in the smoke, as shown here in the picture.

Step 2: Draw candle with the fineliner
Now we start with the actual drawing. Take a 0.3 fineliner and start drawing the contours of the candle.

Now draw the contours of the smoke.

In the next step, we’ll detail the candle a bit. To do this, you can fill in the inner area with a crosshatch.

If you trace the lines again a bit irregularly, you’ll get a more sketchy drawing style.

Additionally, you can draw some shadow into the candle by a simple hatching.

This completes the candle so far and we can detail the smoke.
Step 3: Draw smoke with the fineliner
Now draw in the smoke with the fineliner. Use several lines for one to create the sketchy style.

First, draw the larger areas that we sketched in advance. Then you can fill the areas in between with irregular lines.

Now draw the complete smoke.

You can now use a 0.5 fineliner to make the outline a little thicker on the outside and thus bring a little more contrast into the drawing.

You have created the drawing so far and can now carefully erase the sketch with an eraser. In this exercise we will use a kneaded eraser.

Congratulations, your candle drawing is now ready.

Continue drawing now
Start a learn to draw course now. Here we have a suitable course for you.
To Learn to Draw Course
